Handlettering For Beginners: A Modern Calligraphy Tutorial
If I WERE a beginner, this is what I’d do.
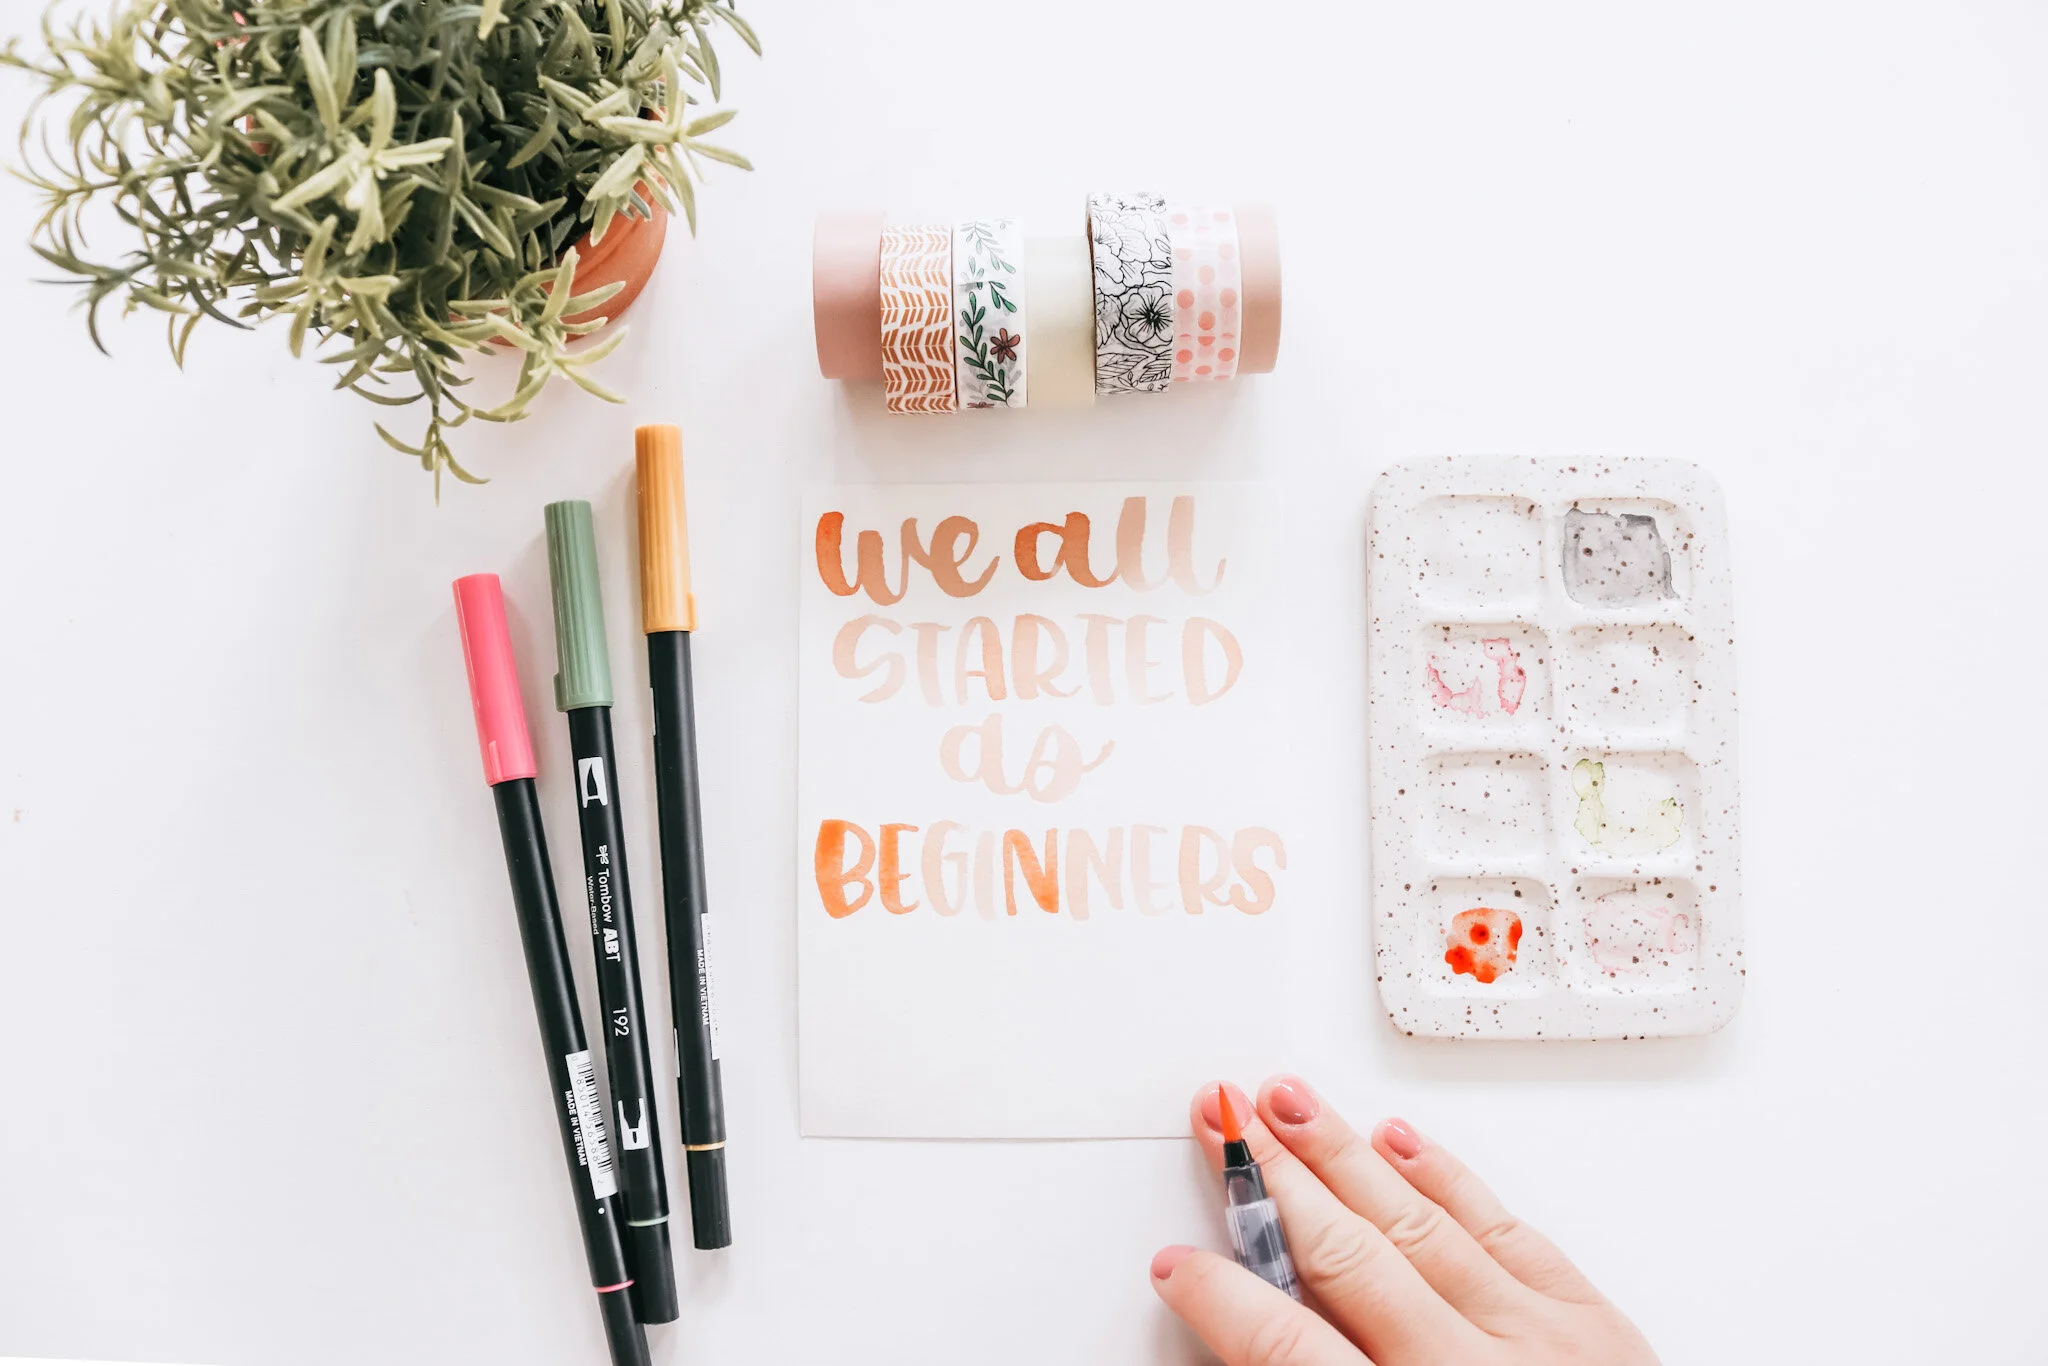
Are you looking for some of the best tips for beginning to learn how to handletter? I have been handlettering for several years and learned a lot through trial and error. Now, looking back, I think there are a few things that could have saved me some time, frustration and money! So I wanted to share some of those things with you. If I was a beginner, knowing everything that I know now after years of handlettering, this is what I’d do to start!
Tip #1: Does Your Brush Pen Really Matter?
The first thing that I’d do if I were a beginner learning how to handletter is to not worry about which brush pens are the best. I know, I know… buying new pens is part of the fun of handlettering! And it can be easy to justify a new purchase thinking that a more expensive pen may magically make handlettering easy.
But here’s the thing… handlettering takes so much practice! Regardless of whether you buy the fanciest pen or you are using a Crayola marker for practice, you’re likely going to go through several brush pens as you practice thick and thin strokes. So to me, I think that practicing with something inexpensive is just fine at the beginning!
I also think there can be a bit of an illusion that using an expensive brush pen can make lettering easier. And while I definitely DO think there are some benefits to fancy brush pens and smooth paper, I think practice is the most important.
Tip #2: Letter Formation Comes First
The second thing that I would do if I was a beginner was to master letter formation before worrying about brush lettering or thick and thin strokes.
Now, technically you can learn letter formation while learning thick and thin strokes… it’s not impossible! But I do think that it can make brush lettering harder. I think it can be a bit less stressful if you already have your letter formation down before you start to worry about thick and thin strokes.
I would choose a really simple style to begin. Something that is even, has good spacing and doesn’t have a ton of extra loops, curves and flourishes. My own personal style that I letter with is actually shown in this worksheet set called the Eloise.
I hand-draw the lettering worksheets that I create, so this actually is my handlettering and even though I’m not a beginner anymore, I still think this is one of my favorite places to go to master or practice letter formation. In my opinion, the style is just classic and timeless.
If you’d like to grab the Eloise worksheets, you can do so here and use discount code 10THINGS2020 for 20% off.
Tip #3: Drills, Drills, Drills
Once I mastered the letter formation of a lettering style that I love, then I would move on to trying to learn brush lettering. And if I were a beginner, I would do this by practicing DRILLS.
I would practice, practice, and practice more until the thick and thin strokes felt like second nature to me.
Not sure what I mean by “thick and thin strokes”? Here’s a quick recap:
In brush lettering, you typically create 2 thicknesses of strokes depending on which direction you are writing in. This usually means that downstrokes will be thicker and upstrokes will be thinner.
In other words, when you pull the pen down towards yourself on the paper, you’re going to press harder to create a thinner stroke. And when your stroke starts to go back up, or away from yourself, you ease up on your pressure to create a thinner stroke.
This technique applies to letters, but can feel tricky when your letters seem to have so many different strokes. To practice this technique without the frustration of lettering, you can break apart letters into individual strokes and then practice them one at a time.
I share a completely free drills workbook in my 7 day mini course, so if you don’t have one already and would like guided practice, then make sure to sign up here!
Tip #4: Combine Your New Skills
And if I was a beginner, this is the point where I would move on to adding my handwriting style that we talked about earlier to my new brush pen skills!
When forming letters and using a brush pen both feel like second nature, it’s time to combine the two! In doing this, you should start to see your own beautiful brush lettering style develop! And the possibilities go on and on.
Tip #5: Community
And the fifth thing that I would do if I was a beginner learning how to handletter is to find some lettering friends! Lettering can be both frustrating and rewarding and I find it is more fun with friends! It’s also super nice to have a place to go to ask for opinions or advice. And not to mention see other peoples lettering for inspiration and motivation.
If you know a friend who is into lettering or who may enjoy it, you probably already know that this can be really fun and maybe even helpful! I personally don’t have a lot of lettering friends in real life, so I use places like instagram to see lettering from other people and share my own.
Lettering is such a journey, one that I’ve been on for many years. And I know that there is so much to finding your own style and creating unique lettering that fits you perfectly! I hope these tips help you to get started on your own unique handlettering journey!